Ductwork & Air Quality
UV light installation for Miami air conditioners
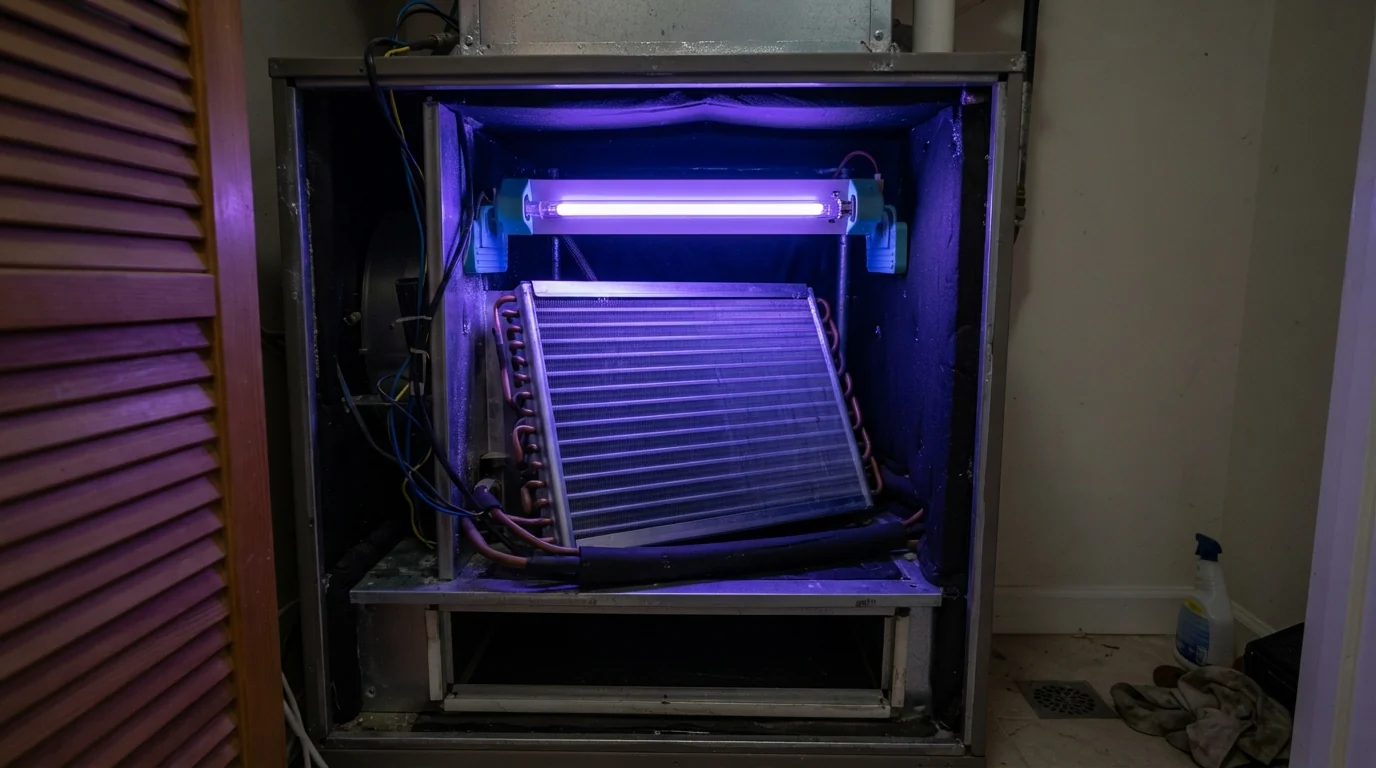
The evaporator coil in a Miami air handler is wet and dark most of the year, which is exactly where mold and biofilm grow. A UV lamp aimed at the coil keeps that surface clean between service visits.
Miami service office on SW 117th Ave · We answer 24/7
- Answered 24/7
- Miami service office
- Bulbs replaced on schedule
Updated October 2026
HVAC UV light installation in Miami places a UV-C lamp inside the air handler, aimed at the evaporator coil and drain pan, to keep mold and biofilm from growing on the wet surfaces. A technician from our SW 117th Ave office cleans the coil first, mounts the lamp where it covers the coil face, wires it safely and sets a bulb replacement schedule.
The job
What UV lights actually do, and what they don't
A coil-mounted UV lamp is good at one job: keeping the coil and drain pan from growing the slimy film that restricts airflow, clogs drains and causes that musty smell on startup. Because the lamp shines on the coil all the time, it works continuously on a surface that stays wet.
What a lamp doesn't do is clean a coil that's already dirty or replace a filter. We clean the coil before installing, and we're honest that a lamp is a maintenance aid, not an air purifier.
What moves the price
What decides the price of a UV install
Lamp type
Coil-mounted or in-duct units.
Number of lamps
Wide coils may need more than one.
Coil cleaning
A dirty coil is cleaned first.
Mounting
Access through the cabinet or plenum.
Wiring
Interlocked so it shuts off when opened.
Bulb schedule
Replacement about once a year.
Air handler type
Closet, attic or fan coil units.
What we see on this job
Coil-mounted UV lamps
The most useful placement is a lamp mounted in the air handler aimed at the face of the evaporator coil and the drain pan. The coil is the wettest surface in the system and where growth starts. We mount the lamp through the cabinet or plenum so it covers the full coil face, keep it away from plastic parts that UV light can degrade, and wire it to switch off when the service panel is opened. The coil is cleaned first, so the lamp starts on a clean surface.
In-duct air treatment
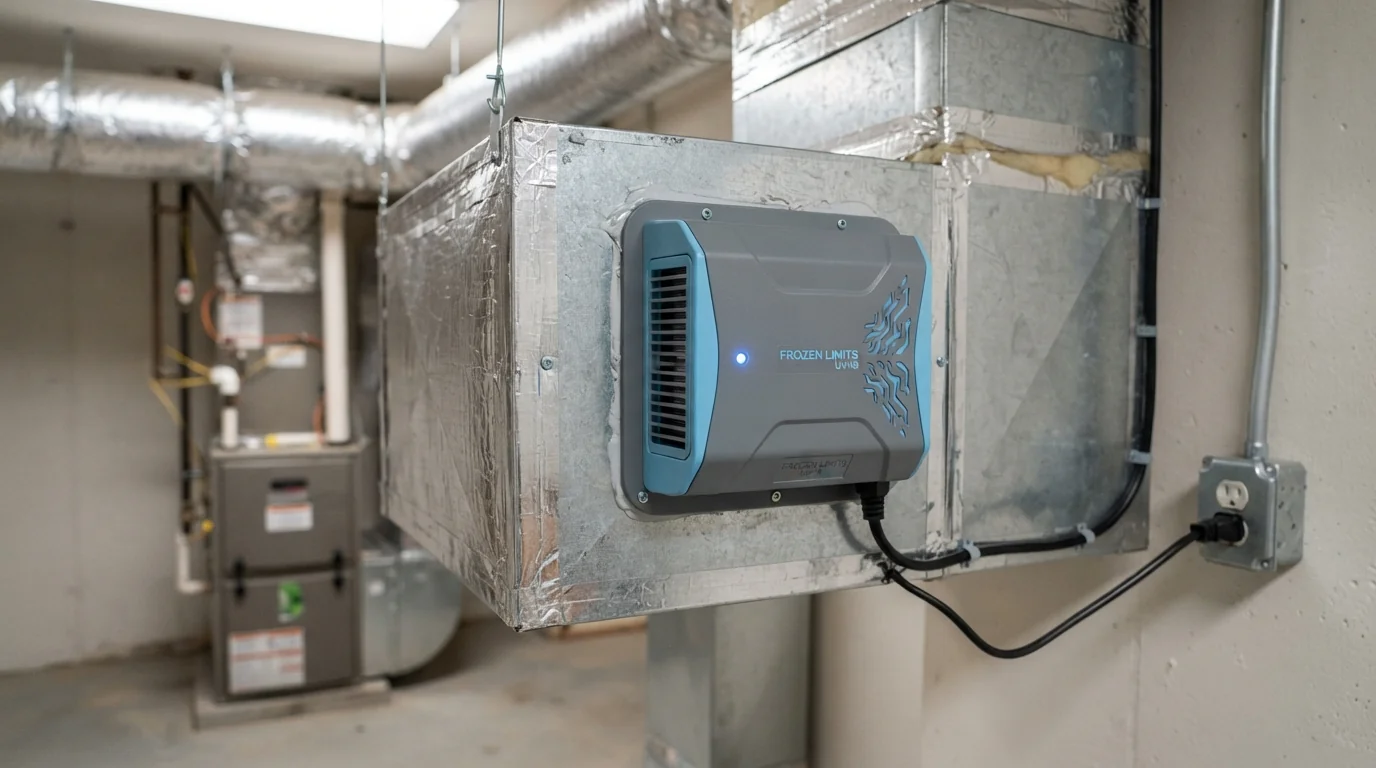
Some UV products are designed to treat the air passing through the duct rather than a surface. Because air moves past them quickly, their effect depends heavily on the design, the lamp strength and the airflow. We're conservative about the claims: we install these when a customer wants them, choose products with published specifications and safety listings, and don't promise results a lamp can't deliver. For most Miami homes, the coil-mounted lamp is the placement that solves a real, visible problem.
Bulb replacement
UV-C lamps lose output over time even while they still glow, so they are replaced on a schedule, usually about once a year, rather than when they burn out. We note the install date, replace the bulb during a maintenance visit, wipe the lamp sleeve, and check the lamp is still aimed correctly at the coil face. The bulb must never be looked at directly or handled while lit, and old lamps contain a small amount of mercury, so we take them away for proper disposal.
What is included
What a UV lamp install includes
- Coil and drain pan inspected
- Coil cleaned before installation
- Lamp placed to cover the coil face
- Mounted through the cabinet or plenum
- Interlock wired to the service panel
- Plastic parts shielded from UV
- Install date logged for replacement
- Old lamps taken for proper disposal
- Musty-smell causes checked, including the drain
Do it yourself or call
Bulb changes: what you can and can't do
Okay to do
- Note the install date and replacement schedule.
- Confirm the lamp's indicator shows it's on.
- Keep the filter changed on time.
Leave to the technician
- Opening the cabinet near a lit UV lamp.
- Handling bulbs that contain mercury.
- Re-aiming the lamp at the coil.
- Cleaning a coil with growth already on it.
Most homeowners are safer letting the bulb change happen at the maintenance visit, where the coil and drain get checked at the same time.
Local conditions
Why Miami coils grow mold
Relative humidity in Miami-Dade stays above 70 percent for most of the year, and a Miami system runs eight to ten months a year, often twelve to sixteen hours a day in summer, so the evaporator coil is wet almost continuously. A surface that never dries out is where mold and biofilm settle first, and it is the reason a coil-mounted lamp earns its place here more than in a drier climate.
Step by step
How a UV lamp install runs
- 1
Inspect the coil and pan
Growth, dirt and drain condition.
- 2
Clean the coil
So the lamp starts on a clean surface.
- 3
Choose the placement
Full coil face coverage.
- 4
Mount the lamp
Through the cabinet or plenum.
- 5
Wire with an interlock
Off when the panel is opened.
- 6
Protect plastic parts
Shielded from direct UV.
- 7
Log the install date
For the bulb replacement schedule.
FAQ
Questions Miami customers ask about UV light installation
Often, when the smell comes from growth on the coil or pan. We clean the coil first.
Coil lamps keep the coil clean. We don't claim they purify the air in the rooms.
About once a year, because output drops even while the bulb still glows.
Inside the air handler, yes. Never look at a lit lamp, and it's wired to shut off when opened.
It can degrade some plastics, so we shield plastic parts and mount it correctly.
Yes. A UV lamp doesn't replace filtration or cleaning.
Same category
Related ductwork work we handle in Miami
Dryer Vent Cleaning
Long dryer vent runs, bird guards and screens.
Air Balancing
Hot and cold rooms, balancing after renovations.
Air Duct Cleaning
Supply and return cleaning, sanitizing after cleaning.
Musty smell every time the AC starts? Call the Miami desk
A technician inspects the coil and pan and tells you whether a UV lamp is the right fix.